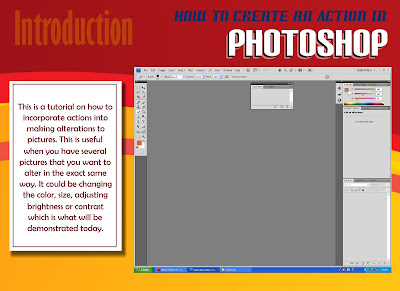
This is a tutorial on how to incorporate actions into making a series of alterations to pictures in Photoshop. This is useful when you have several photos that you want to enhance in the exact same way. It could be changing the color, size, adjusting the brightness or contrast.

STEP 1
Make sure the "Actions Panel" is open. If not, Select Windows > Actions or (Alt+F9). The "Actions Panel" is a list of all the actions that have been created. You will most likely see the default actions that come standard with the program.

STEP 2
Create a new action by clicking the "Create New Action" button at the bottom of the "Actions Panel" and name it. (For our example, we used "my action"). Open the desired folder and select the first picture that you would like to use.

STEP 3
Push the "Record" button (see the arrow). This will allow Photoshop to record every move you make, from opening a document to adding filters to resizing to anything Photoshop can do. Let's apply some editing to the photo we have opened.

STEP 4
Select the actions that you would like performed on the picture. For this example, we decided to change the image size, change the picture to grayscale, and change the brightness and contrast.

STEP 5
Go to the "Actions Panel" and click the "Stop" button (see the arrow). Now you are ready to apply the same alterations on other pictures in your folder.

STEP 6
Select File > Automate > Batch. Set the "Actions" tab to the action you just created ("my action" for this tutorial). Make sure the "Set" tab is set to "Default Actions" as that is where we saved our new action.

STEP 7
In the next box named "Source," you will select the folder containing the images you want to edit. (For example, our folder is named "Funny Pictures".)
In the third box named "Destination," you will select the new folder where you wish to see your edited pictures. (Be sure to create the "Destination" folder. For this example, we named our's "Funny Pictures Edited.")

STEP 8
Select "OK" in your batch panel. You will begin to see each of your actions carried out for each pictures in your original folder. Once the batch has completed running, check your destination folder to make sure all of your actions were completed successfully on your pictures.
You can use any custom action you create on any folder with any photos. Thanks for using this tutorial and happy editing!


No comments:
Post a Comment